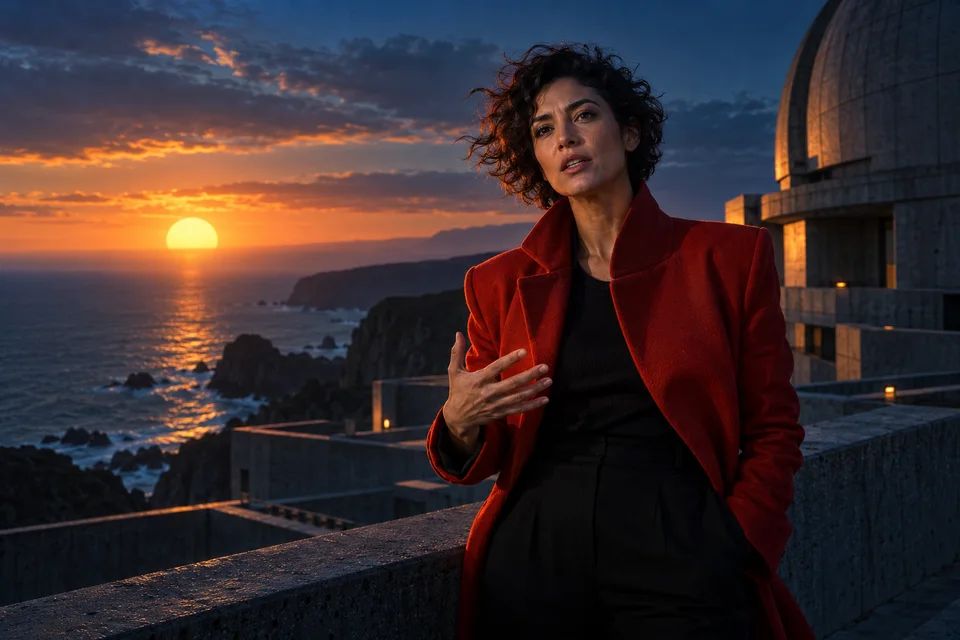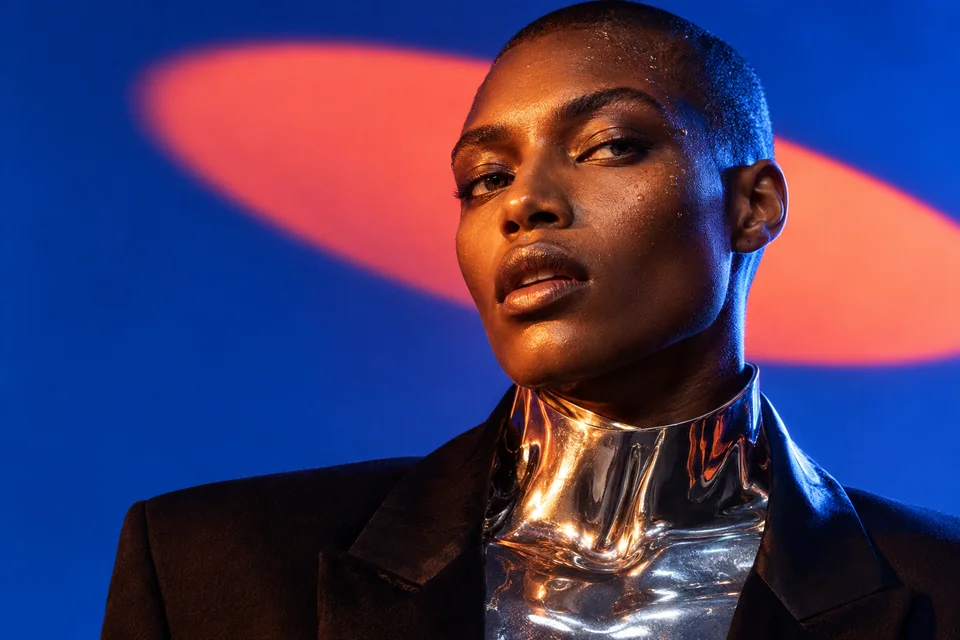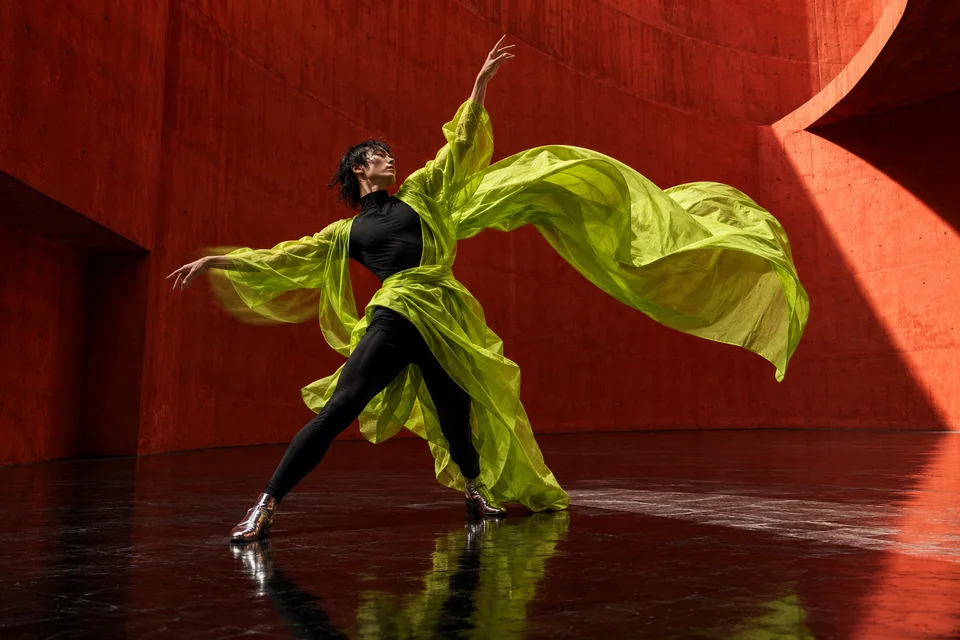
Your product. A different setting.
A studio backdrop, an outdoor scene, more dramatic light. Start with your product photo and describe the image you want to create.
01 / Upload
Your product photo, with an optional image for the setting.
02 / Make it yours
The setting, lighting, format and details to keep.
03 / Download
A new photo to compare and download.
From packshot to campaign.
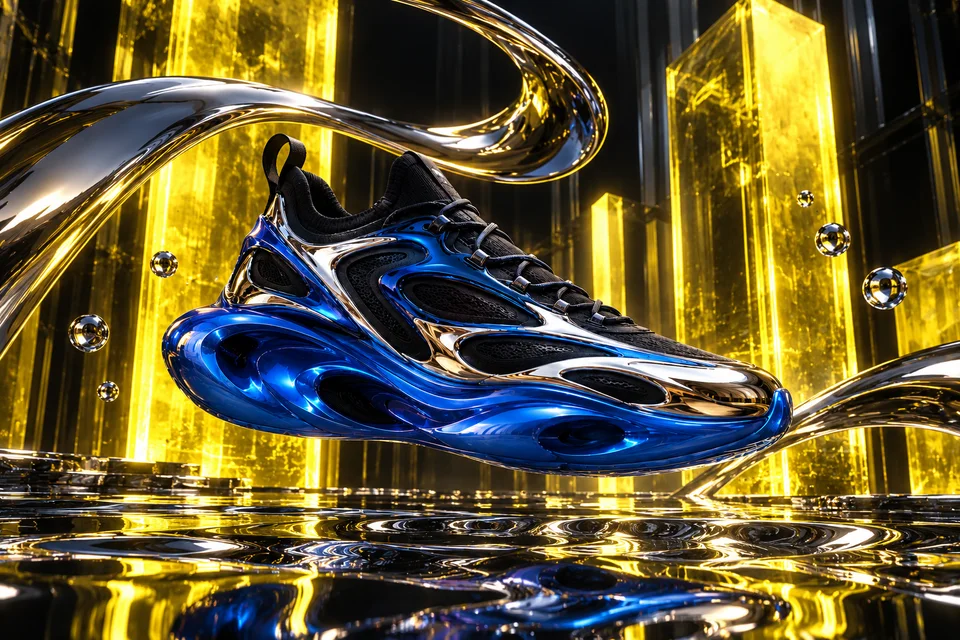
The same sneaker, given a new setting with Nano Banana 2.


“Keep the sneaker. Build a sculptural cobalt setting with a sharp citron light.”Download the result
A real generative edit. Compare the shape, materials and details of the product.
One photo. More directions.
A sculptural setting, softer light, a campaign world. Your instruction gives the image its direction.
Prepare your image
Upload a photo with a clear view of your product and its details.
Describe the change
Choose the type of edit and describe the setting you have in mind.
Compare the details
Compare the new image with your photo, then download it.
Keep creating, in one place.
Find the result in Media. Add it to a film in Studio, or download it.
- Media
- Studio
- Export
For a better result.
- Describe the details that matter: bottle shape, color, material. Check logos and lettering in the finished image.
- New lighting or perspective can change how the product looks. Start with one specific change so you can assess the result.
Will the logo and label stay identical?
AI editing can change small details or text. Describe what you want to keep, then check lettering at full size before using the image.
Can I animate the photo afterwards?
Yes. Save the image and select it in a compatible video tool. Video creation has its own price, which you confirm separately.